This week’s project involves the installation of some much needed storage space in our laundry room. Since the one and only shelf in the laundry room had seen better days, it was a no-brainer to replace it with some decent overhead storage. Much like the pie safe, these cabinets were constructed from the scrap 1×8 lumber taking residence in my basement left over from our living room renovation.
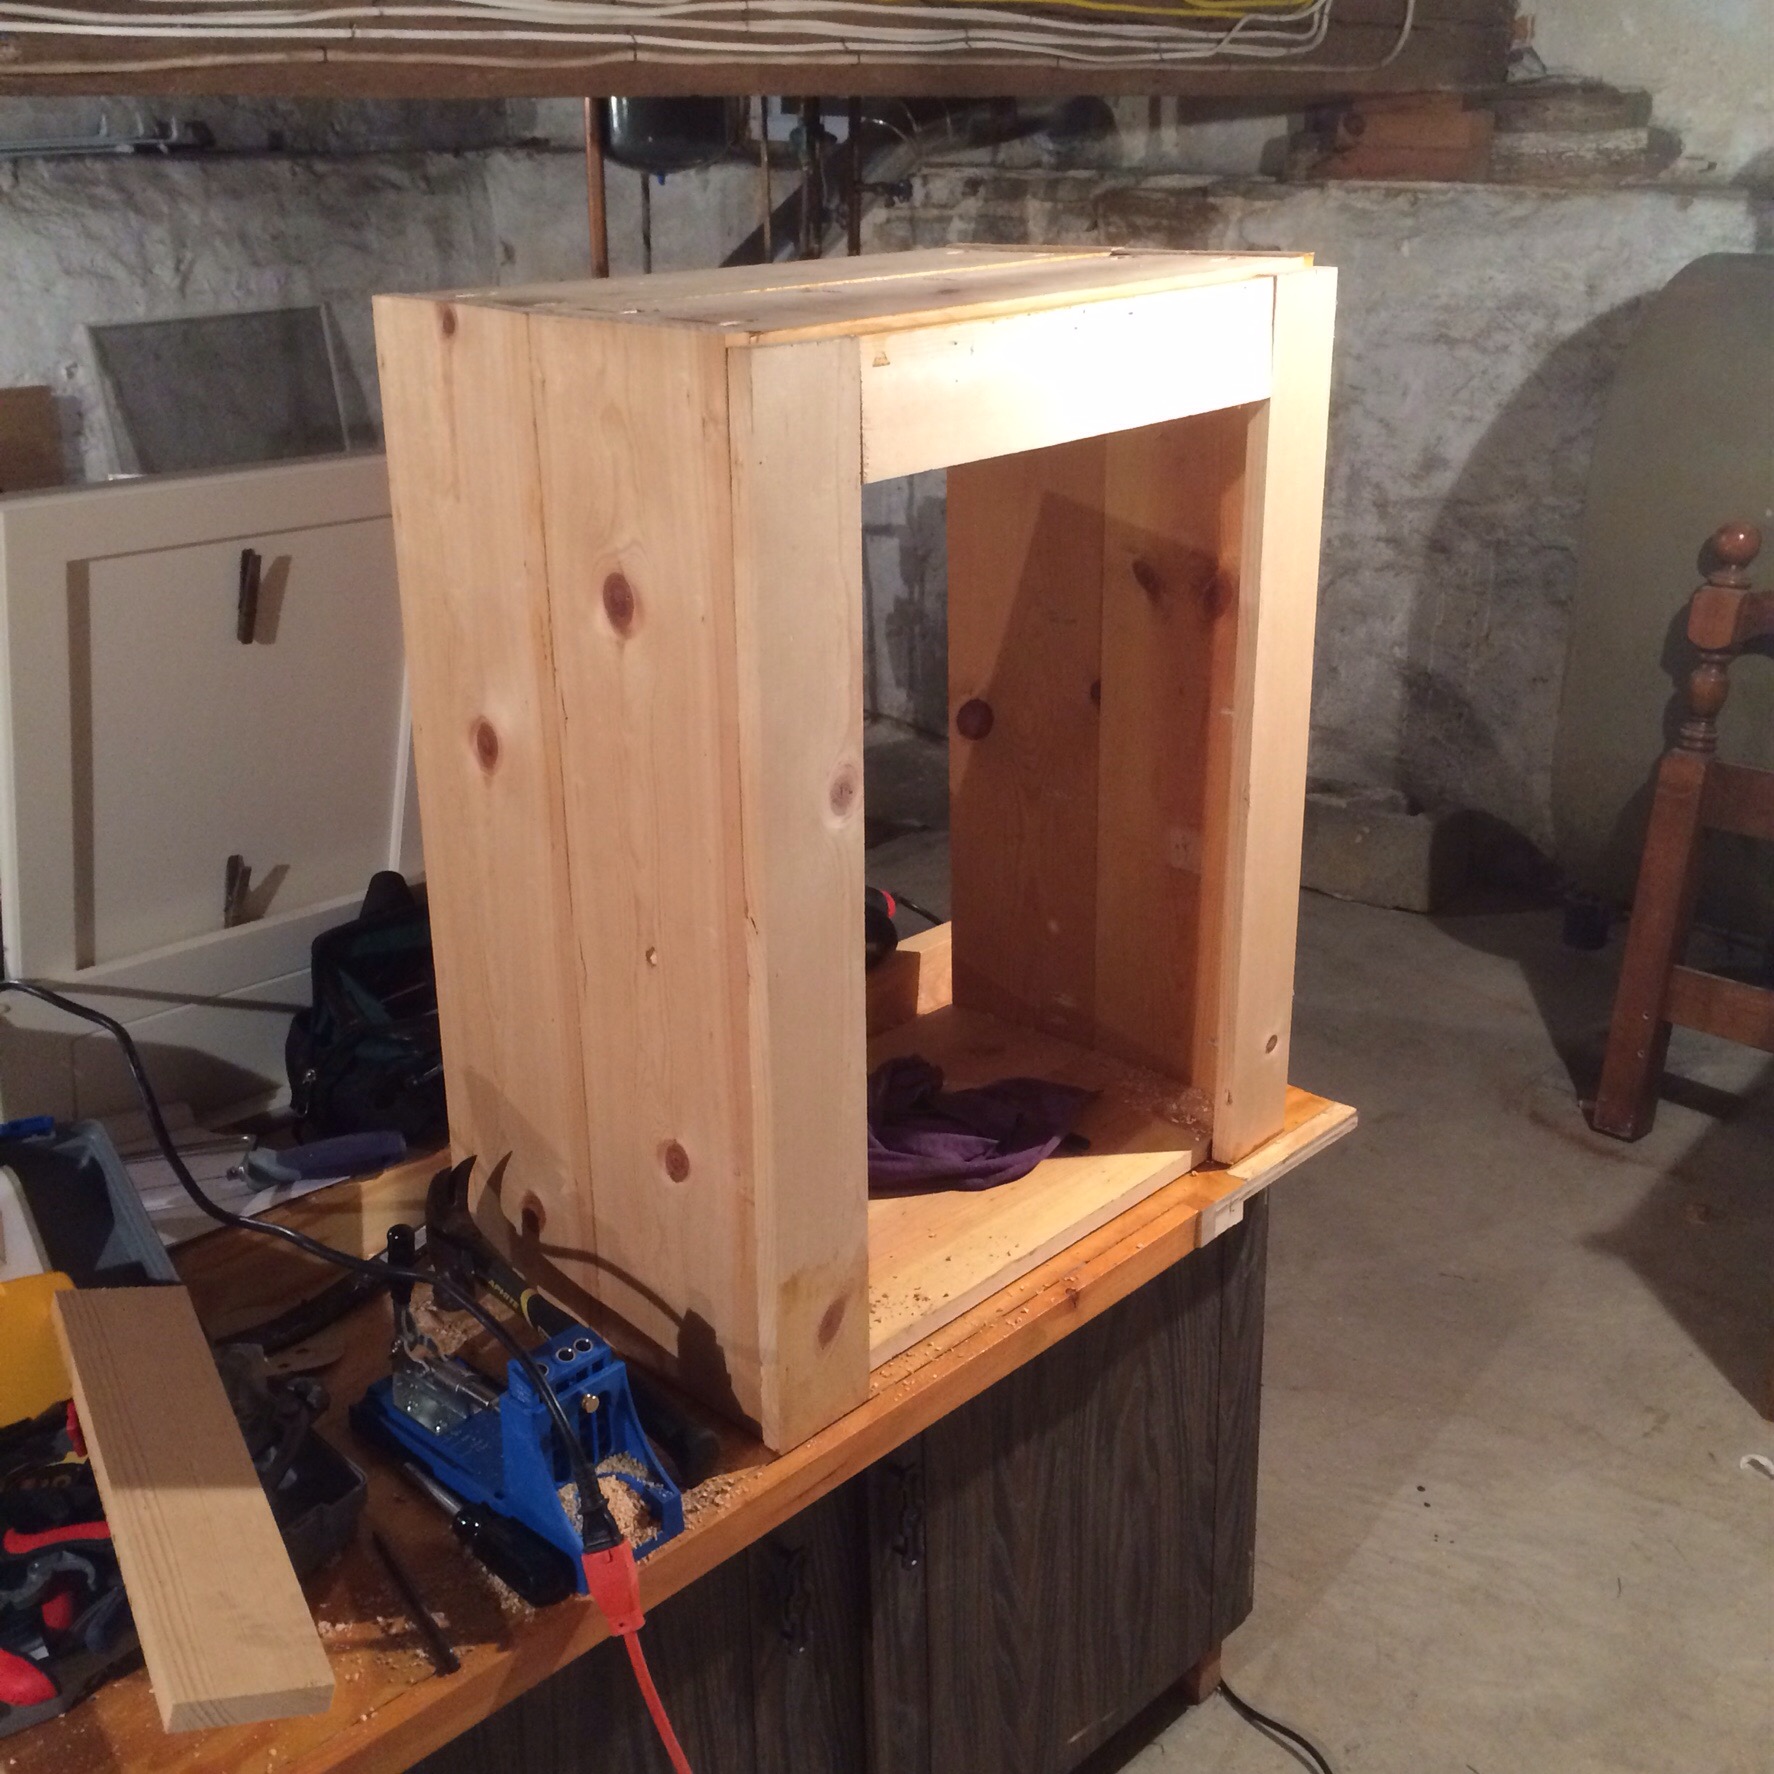
First, the shell is nothing more than a box made from four (4) pieces of the 1×8’s cut to 28″ in length for the overall height, and four (4) 1×8’s cut to 26″ in length for the width of the cabinet. Using the Kreg-Jig, we join together two of each of the pieces to create the top, bottom and sides of the carcass.
Here you can see the four side of the cabinet joined together, along with the face frame. The face frame was made from ripping a 1×8 board down to the appropriate size, and attaching it to the carcass via pocket holes from the Kreg-Jig. Wood screws and glue were utilized on all the joints for a nice strong bond since these will see a lot of use. The face frame in this picture is just being held in place temporarily, after being joined together with the Kreg-Jig all the edges line up smoothly.
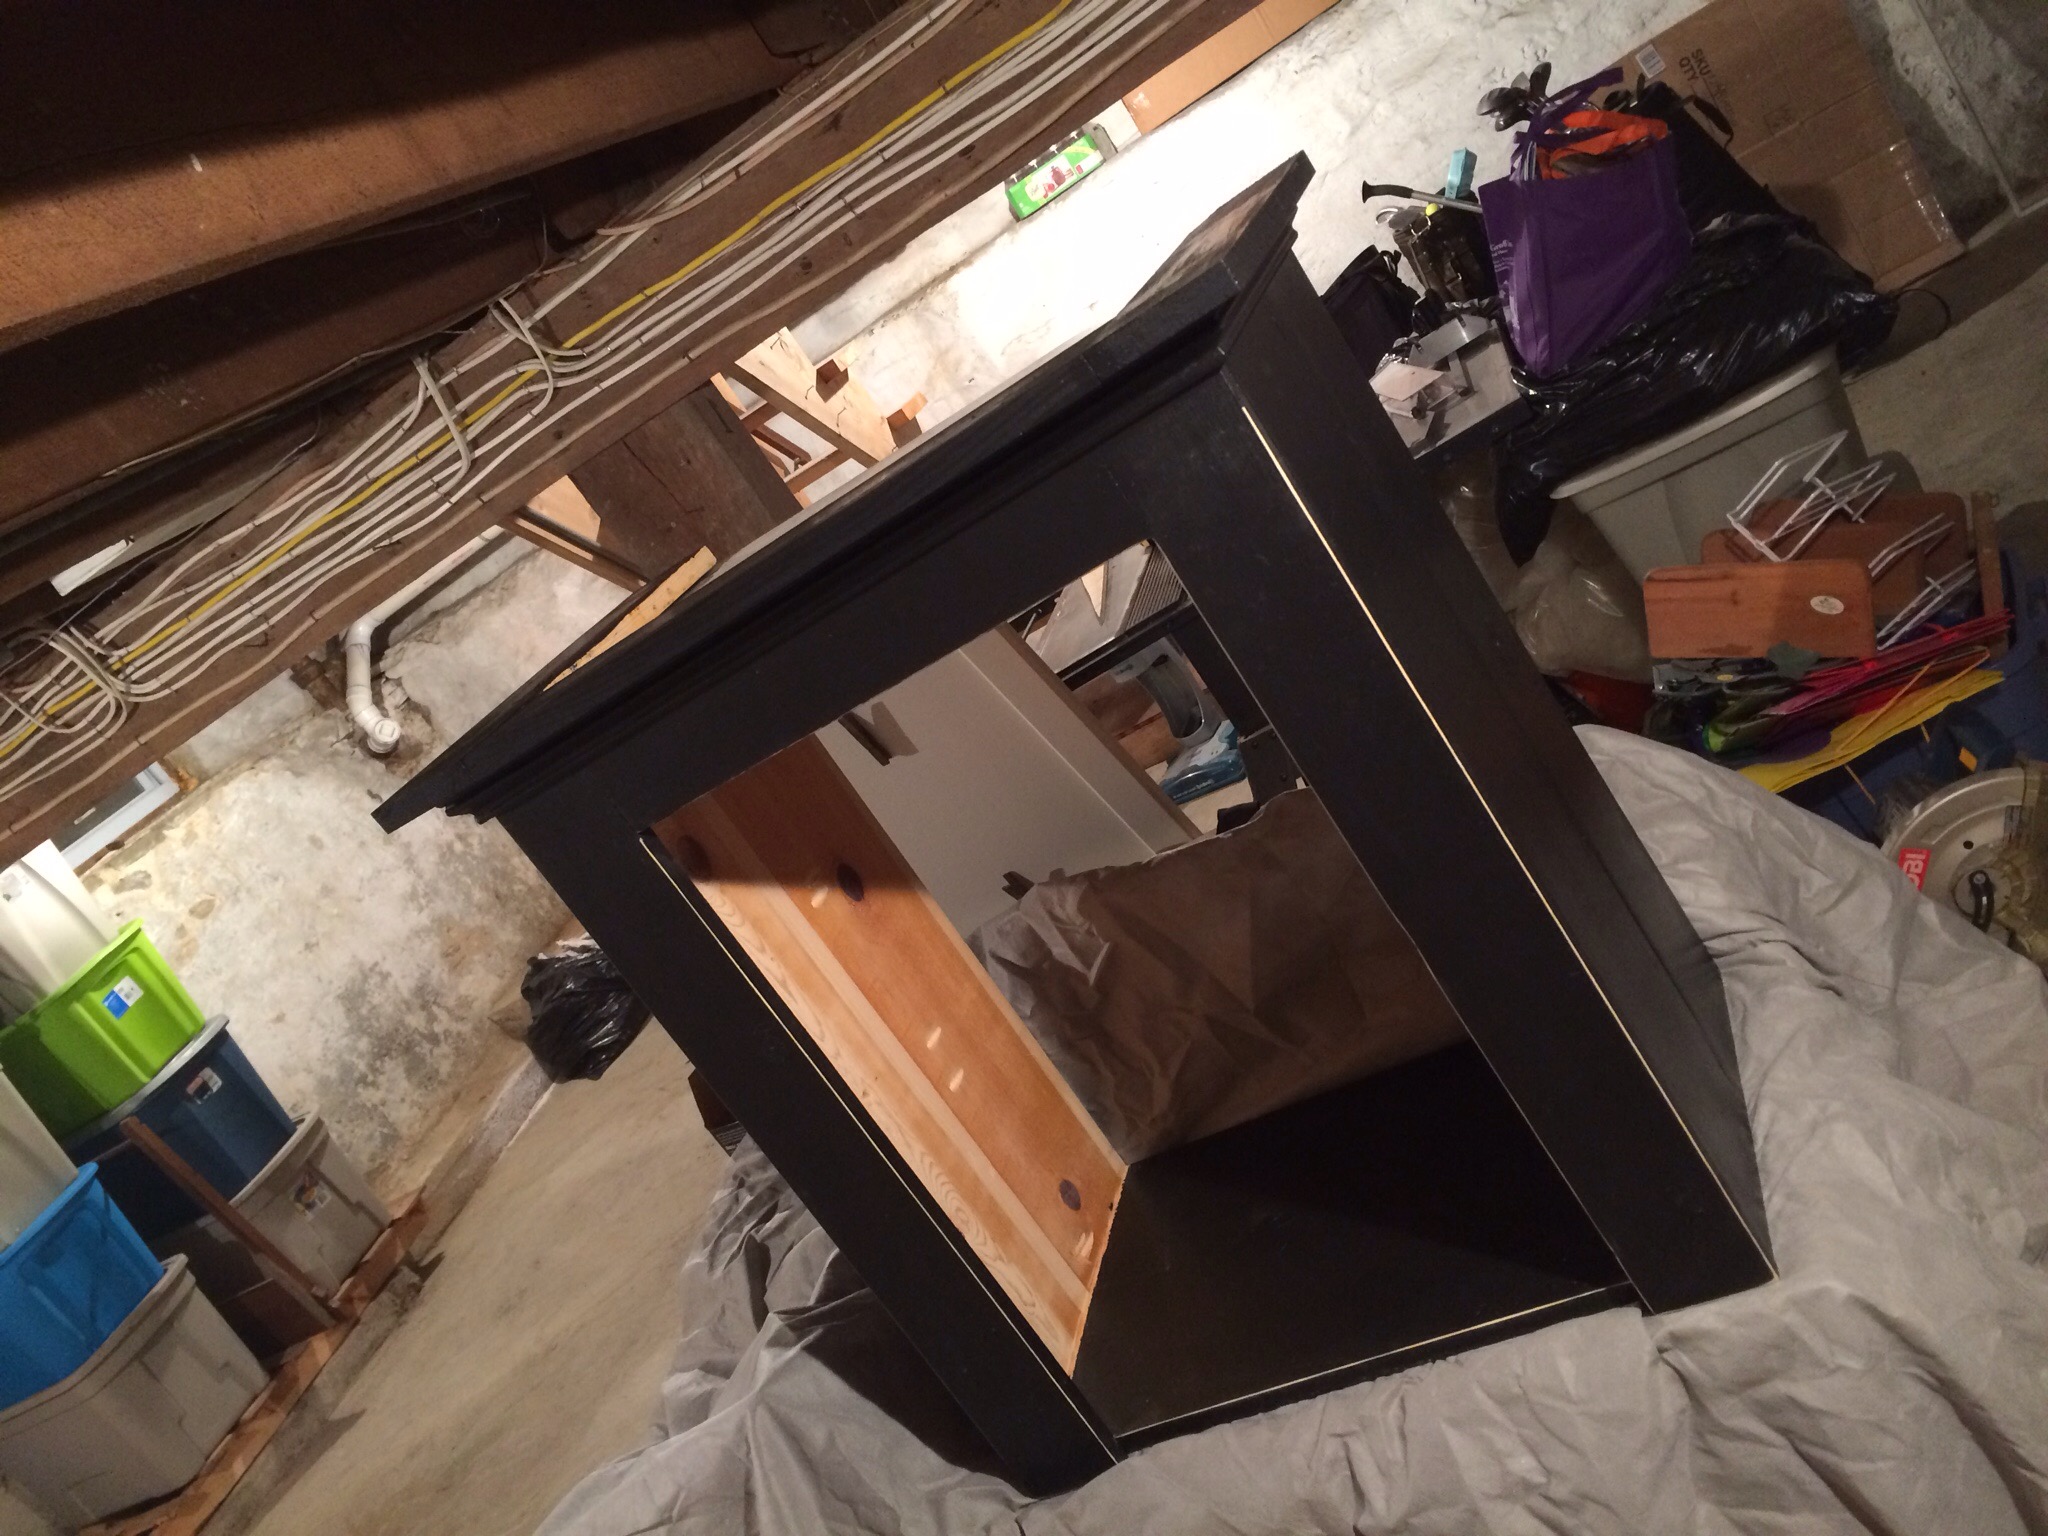
This process was repeated to create the smaller overhead cabinet that is roughly 28″ x 20″. Here is the completed view of the smaller cabinet. Trim pieces and ripped 1×8’s were used to finish off the look.

Both cabinets were painted with a black satin low VOC paint. This paint is perfect to use in my shop builds were ventilation isn’t the greatest.
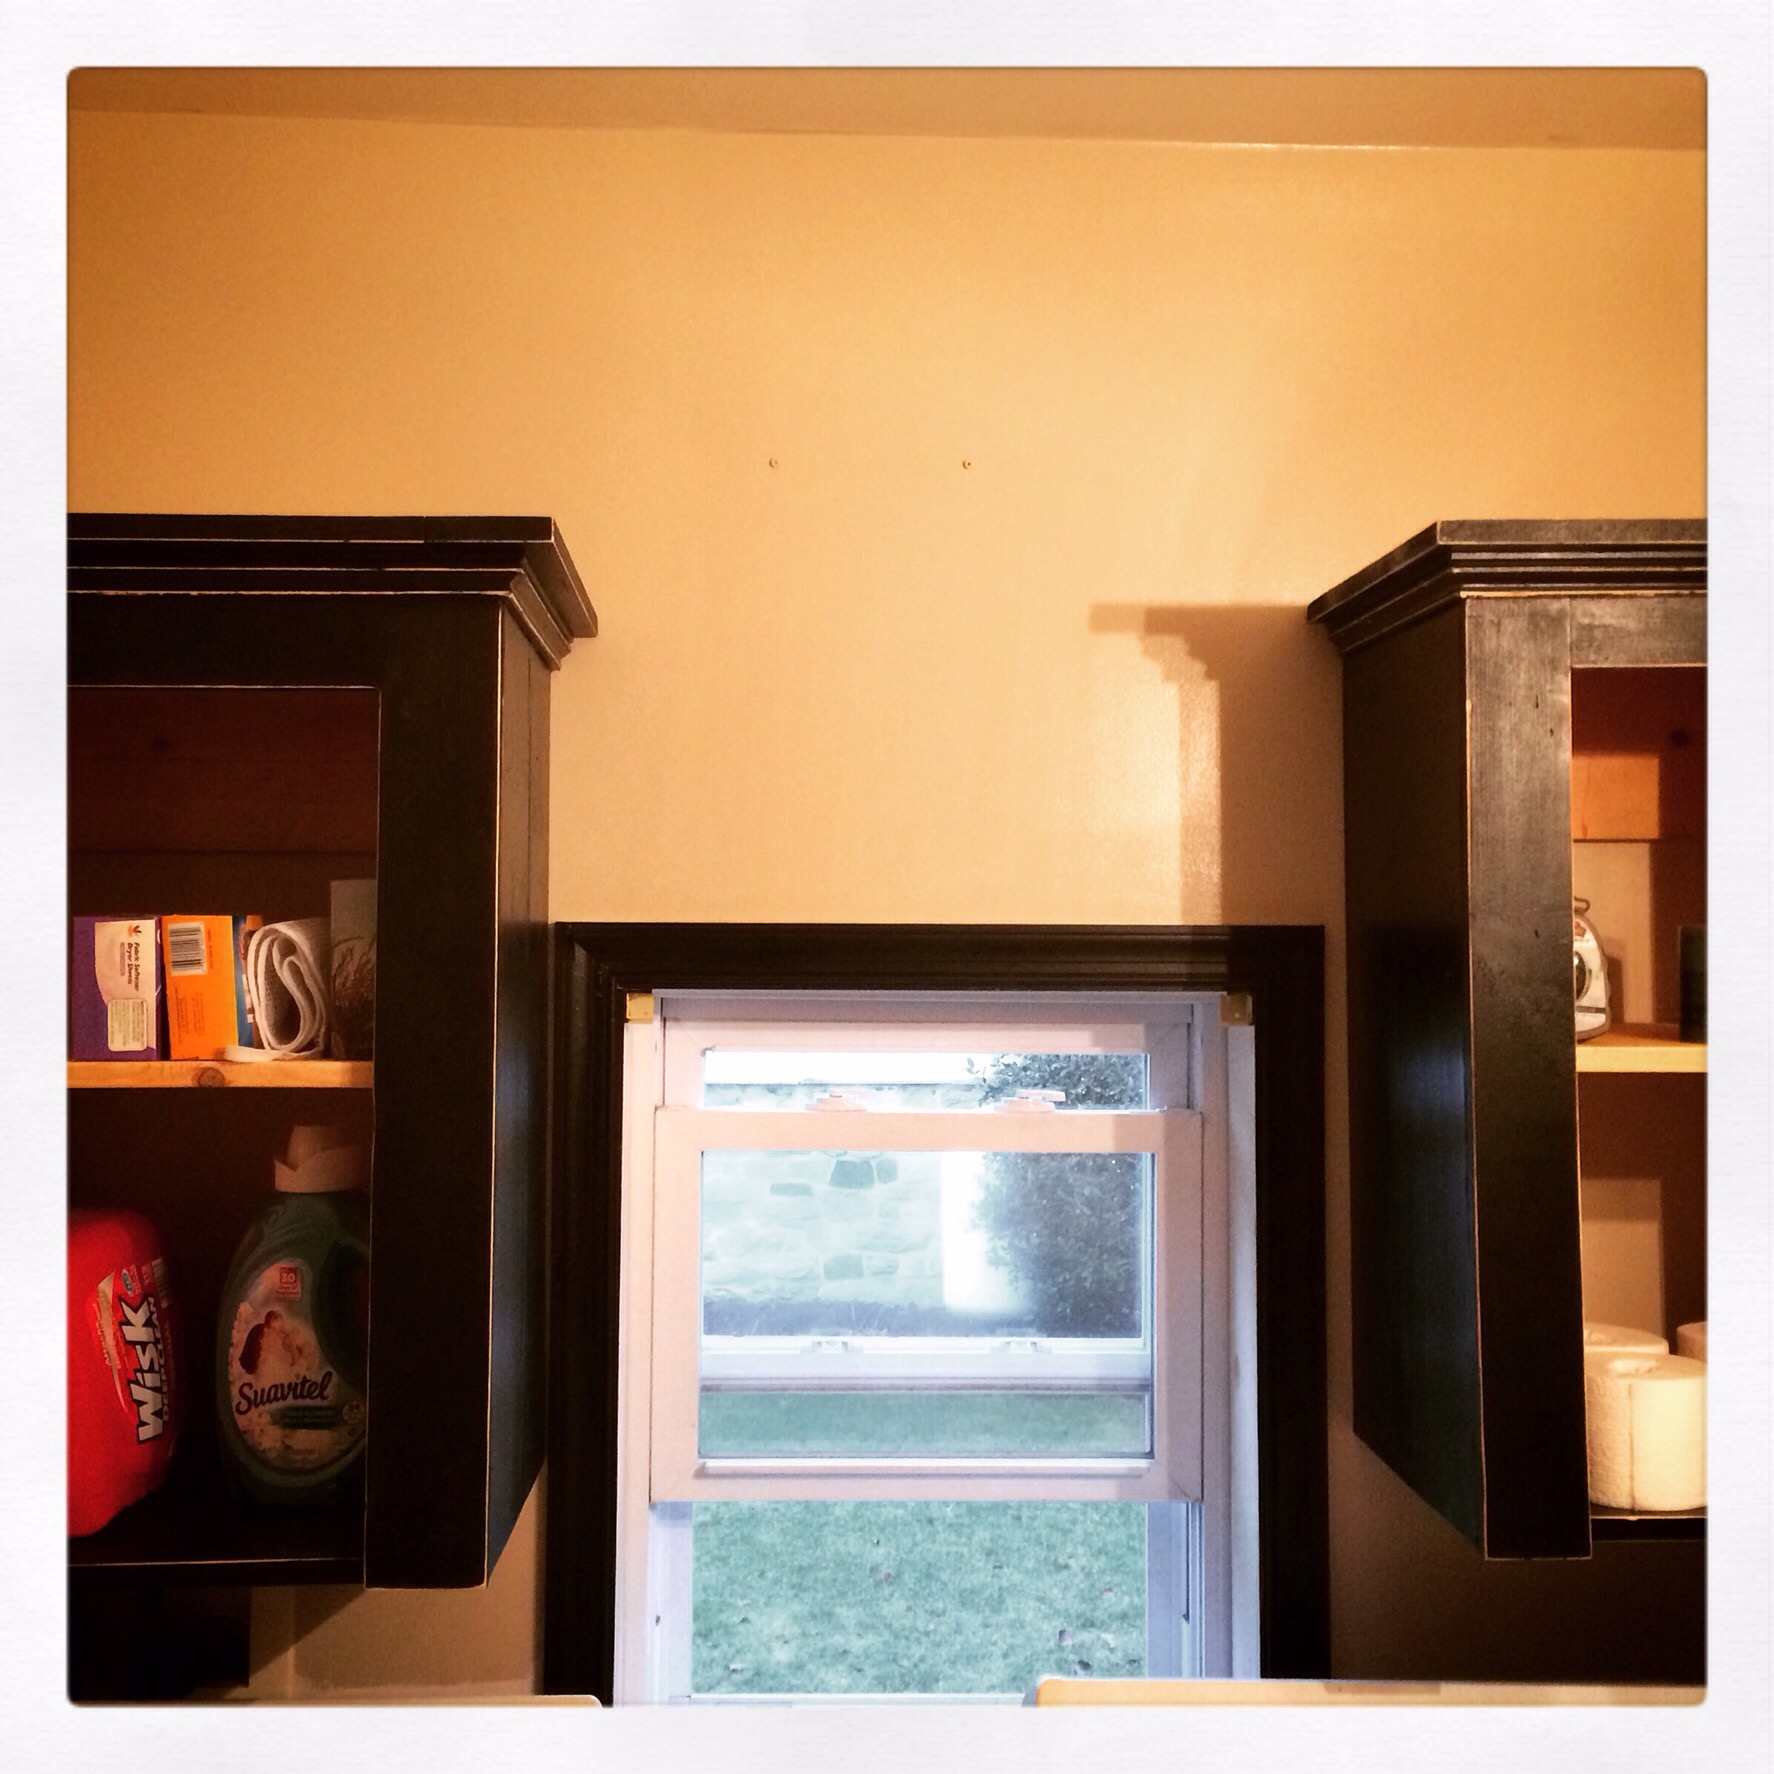
French cleats were used to hang the cabinets on the wall. Here are the cabinets installed over the washer and dryer, stay tuned for downloadable plans, along with a SketchUp file!